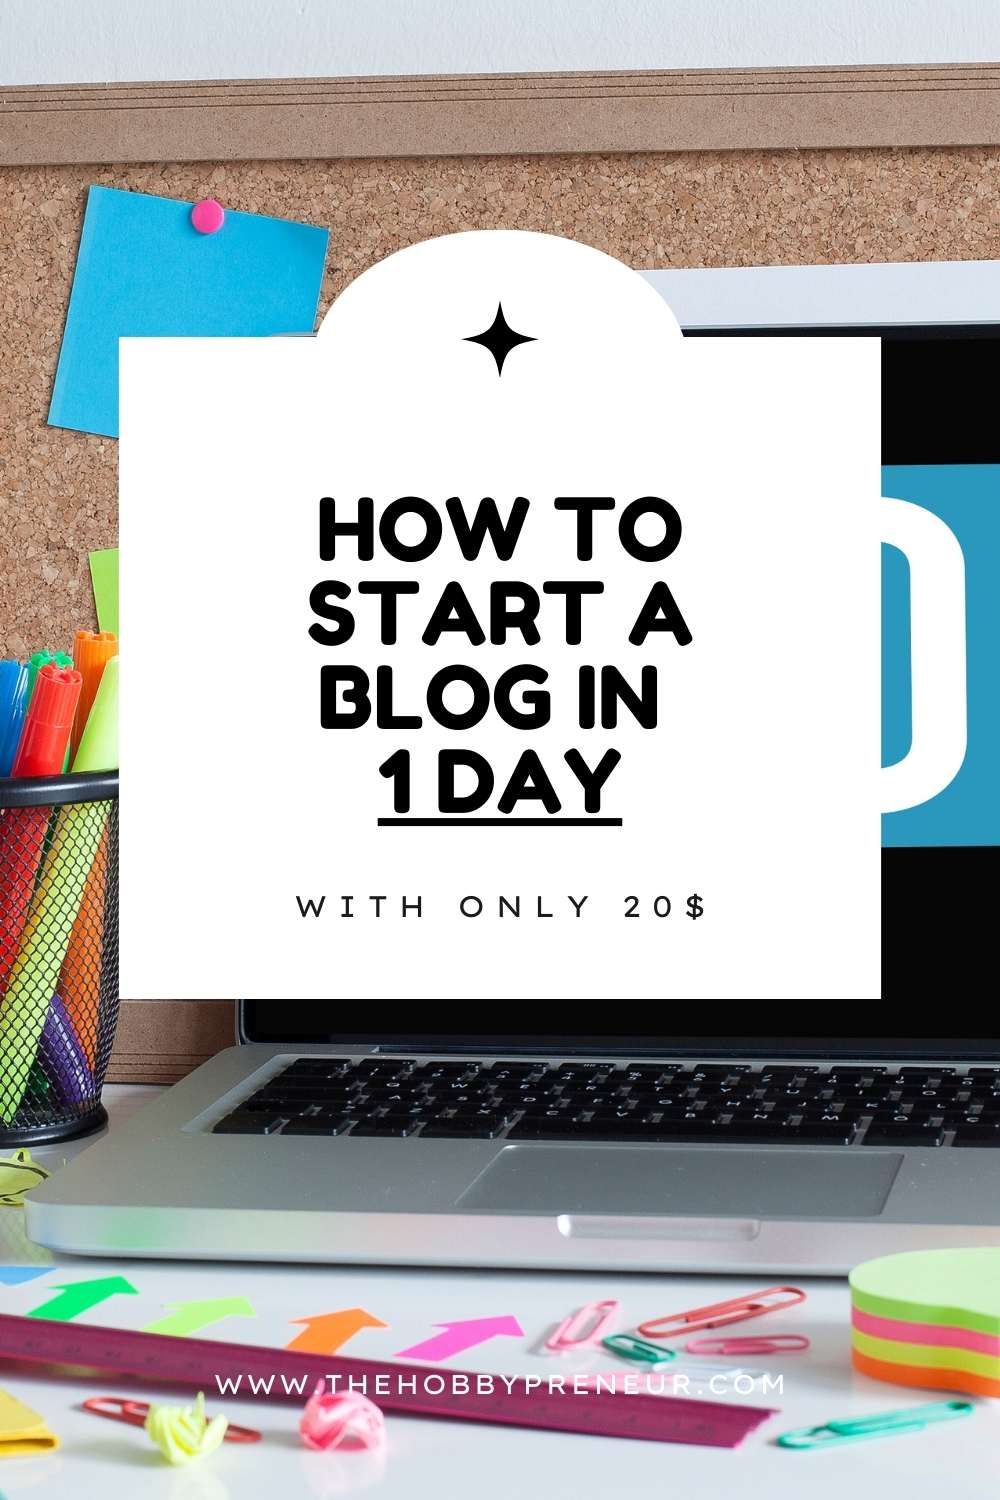
How to Start a Blog in 1 Day (with only 20 $)
Starting a blog can seem like a daunting task, but with the right approach, you can get your blog up and running in just one day and with a minimal investment of 20$. Whether you want to share your passion, build a personal brand, or create a platform for your business, blogging is a powerful way to earn passive income long term.
Step 1: Define Your Blog’s Purpose and Niche
Identify Your Passion and Expertise: Before you start your blog, it’s crucial to determine what you’re passionate about and what you’re knowledgeable in. Your blog should reflect your interests and expertise. This will not only make it easier to create content but also help you engage with your audience more effectively.
Choose a Niche: A niche is a specific segment of a market that you will focus on. Narrowing down your niche helps you target a specific audience, making your blog more appealing and relevant. For instance, instead of writing about food in general, you could focus on vegan recipes, baked goods, or meal prep, for examples.
Step 2: Select a Blogging Platform
There are several blogging platforms to choose from, each with its own pros and cons. Here are a few popular options:
- WordPress.org: A self-hosted platform that offers complete control over your blog. It’s highly customizable and ideal for long-term growth. This is the one I HIGHLY recommend.
- WordPress.com: A hosted version of WordPress that is easier to set up but has limited customization options.
- Blogger: A free, simple platform owned by Google. It’s easy to use but lacks advanced features.
- Medium: A platform that allows you to focus solely on writing. However, you have less control over customization and monetization.
For this guide, we recommend WordPress.org due to its flexibility and scalability.
Step 3: Choose a Domain Name and Hosting
Domain Name: Your domain name is your blog’s address on the internet (e.g., www.yourblogname.com). It should be easy to remember, relevant to your niche, and unique. Here are some tips for choosing a domain name:
- Keep it Short and Simple: Aim for a name that is easy to type and remember.
- Avoid Numbers and Hyphens: These can be confusing and hard to remember.
- Use Keywords: Include keywords related to your niche if possible, but don’t overdo it.
Hosting: Web hosting is where your blog lives on the internet. A good hosting provider ensures your blog is fast, secure, and reliable. Some popular hosting providers include:
- BigScoots: BigScoots is the one I HIGHLY recommend. It’s the fastest and most reliable hosting, and the one most successful bloggers use. Their WordPress Optimized servers (WPO) are very reliable and with great customer support, although a bit expensive (starting from $35 per month). Their Shared SSD Hosting, though, is much cheaper (starting from $8 per month) and it’s great for starter blogs. You can then move to WPO once your blog starts growing.
- Bluehost: Known for its affordability and ease of use, especially for beginners. Although it’s known to be very slow and not reliable.
- SiteGround: Offers excellent performance and customer support.
- HostGator: Provides a range of hosting plans suitable for different needs.
After selecting a hosting provider, follow their instructions to register your domain name and set up your hosting account. The domain name needs to be purchased separately, and it’s the first thing you should do as soon as you decide the name of your blog, to make sure nobody gets it before you. The price for a .com domain is usually around 10-15 $.
Step 4: Install WordPress
Most hosting providers offer one-click WordPress installation. Here’s a general guide to installing WordPress:
- Log into your hosting account.
- Locate the one-click WordPress installer (usually found in the control panel).
- Select the domain name you want to install WordPress on.
- Fill in the required details (site name, admin username, password, email).
- Click Install.
Once installed, you can access your WordPress dashboard by going to www.yourblogname.com/wp-admin and logging in with the admin credentials you set up.
Step 5: Choose a Theme and Customize Your Blog
Choose a Theme: A theme determines the look and feel of your blog. WordPress offers thousands of free and premium themes. Here’s how to choose and install a theme:
- Go to Appearance > Themes in your WordPress dashboard.
- Click Add New to browse available themes. I recommend Kadence as it has a highly customizable free option..
- Use the search bar or filter options to find a theme that suits your style.
- Preview the theme to see how it looks on your blog.
- Click Install and then Activate to apply the theme.
Customize Your Theme: After activating your theme, you can customize it to fit your brand:
- Go to Appearance > Customize.
- Modify settings like colors, fonts, and layout.
- Upload your logo and customize the header and footer.
- Save your changes.
Step 6: Install Essential Plugins
Plugins add functionality to your blog. Here are some essential free plugins to get started:
- Yoast SEO: Helps optimize your blog for search engines.
- Jetpack: Provides security, performance, and site management tools.
- Akismet: Protects your blog from spam comments.
- WP Rocket: Speeds up your site.
- Google SiteKit: Integrates Google Analytics and Google Search Console with 1 click.
To install a plugin:
- Go to Plugins > Add New in your WordPress dashboard.
- Search for the plugin you want to install.
- Click Install Now and then Activate.
Step 7: Create Essential Pages
Every blog should have a few essential pages to provide information to your readers:
About Page: This page introduces you and your blog to your audience. Share your story, explain your blog’s purpose, and let readers know what they can expect.
Contact Page: Provide a way for readers to get in touch with you. Include a contact form, your email address, and links to your social media profiles.
Privacy Policy and Disclaimer: These pages are important for legal reasons. A privacy policy explains how you collect and use data, while a disclaimer limits your liability.
Step 8: Plan and Write Your First Blog Posts
Create a Content Plan: A content plan helps you stay organized and ensures you consistently publish new content. Decide on topics that align with your niche and plan out your first few posts. Aim for a mix of evergreen content (timeless information) and trending topics.
Write Your First Post: When writing your first blog post:
- Choose a Compelling Title: Your title should grab readers’ attention and include relevant keywords.
- Create an Outline: Organize your main points to ensure a logical flow.
- Write in a Conversational Tone: Engage your readers by writing as if you’re speaking directly to them.
- Add Visuals: Include images, infographics, or videos to make your post more engaging.
- Proofread and Edit: Check for grammar errors, typos, and readability.
Step 9: Promote Your Blog
Share on Social Media: Leverage social media platforms to share your blog posts and connect with your audience. Create profiles on platforms where your target audience is most active. I highly recommend starting with Pinterest.
Engage with Other Bloggers: Networking with other bloggers in your niche can help you gain exposure and build relationships. Comment on their posts, share their content, and collaborate on projects.
Use SEO Best Practices: Optimize your blog posts for search engines to increase your visibility. Use keywords naturally, add meta descriptions, and include internal and external links.
Email Marketing: Build an email list to keep your readers engaged and informed about new content. Offer a freebie or incentive to encourage sign-ups.
Step 10: Monitor and Improve
Track Your Performance: Use Google Analytics to monitor your blog’s performance. Track metrics like page views, bounce rate, and audience demographics to understand what’s working and what needs improvement.
Ask for Feedback: Encourage your readers to provide feedback through comments, surveys, or emails. Use their input to improve your content and user experience.
Keep Learning: Blogging is an ongoing learning process. Stay updated with the latest trends, tools, and strategies to continually improve your blog.
Starting a blog in a day is entirely possible with the right approach and tools. By following these steps, you can set up a professional-looking blog that attracts and engages your target audience. Remember, consistency and dedication are key to blogging success. Keep creating valuable content, promoting your blog, and connecting with your readers to build a successful blog over time.
Happy blogging!